How to Hang Patio String Lights
July 4, 2026

A string of lights draped across a patio changes the feel of the space on any evening. Getting there without the lights sagging to head height, blowing down in the first windstorm, or tripping a breaker takes some planning before you drill a single hole. This guide covers the process from measuring your space to plugging in and testing, so the job goes up once and stays up.
Plan the Run and Measure First
Stand in your outdoor space and decide on the pattern. Two common approaches: a zigzag across the space from corner to corner, which fills the area with light and creates an overhead canopy effect, or a perimeter run that traces the edges of the patio. Zigzag takes more light strands and more anchor points but covers a larger area. Perimeter runs are simpler and work well on smaller patios or when the space already has defined edges like a fence or pergola.
Measure each segment you plan to run with a tape measure. Add 10 to 15 percent to that number to account for sag and any routing around obstacles. String lights that run perfectly taut look stiff and are more likely to break at the sockets when the line shifts. A gentle drape looks better and puts less stress on the cord.
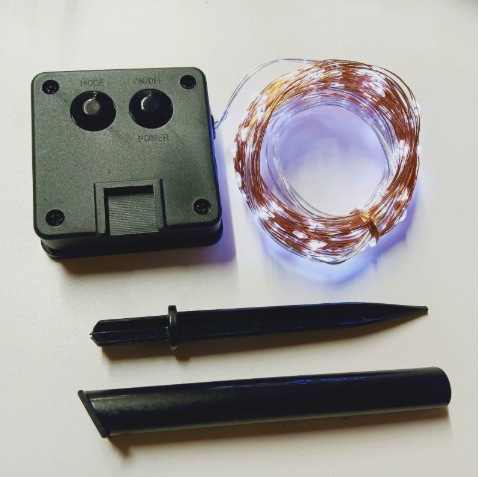
Note where your power source is. You need a GFCI outlet within reach of the run without a cord crossing a walking path. If the nearest outlet is across the yard, factor in an outdoor-rated extension cord in your measurements. Most string lights should not be daisy-chained beyond the manufacturer's recommendation, usually two to three strands maximum, so plan the runs accordingly.
Choose Your Anchor Points
The right anchor depends on what you are attaching to. For wood posts, deck framing, or fence boards, a simple screw eye or cup hook works well. Drill a pilot hole slightly smaller than the screw shank, thread in the hook by hand, and tighten with a screwdriver through the eye. For masonry or stucco walls, use a masonry bit, a plastic anchor, and a screw hook rated for outdoor use.
For longer spans, 15 feet or more across open space with no intermediate support, a stainless steel guide wire is the right call. Run the wire between anchor points under tension using turnbuckles, then drape the string lights over the wire. The wire carries the load and the lights just hang from it. This prevents the sockets and cord from bearing the full weight of the strand, which is what causes premature failure on longer runs. Use stainless hardware throughout since galvanized will rust and stain surfaces over time.
If you have outdoor furniture with tall posts, like a market umbrella or a pergola attached to a dining set, those can serve as anchor points without any drilling. Wrap the cord around a post and use a small S-hook or cable clip to hold it in place.
Ratings and Cord Requirements
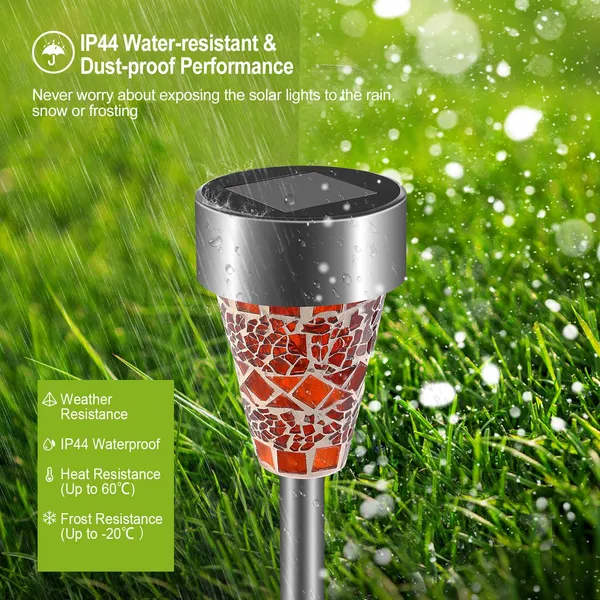
Not all string lights are rated for outdoor use. Look for an IP44 or higher rating on any fixture you plan to leave outside permanently. IP44 handles splashing water from any direction, enough for typical rain and sprinkler exposure. IP65 adds dust protection and handles direct water jets, a better choice if the lights are in an exposed spot rather than under a covered patio.
The same applies to any extension cord in the run. Use an outdoor-rated cord with a cover for the outlet connection, and keep cord connections off the ground where water can pool. A weatherproof outlet cover with a bubble-style gasket keeps the plug protected even when a cord is plugged in.
Bulb Color and Atmosphere
Warm white bulbs around 2700K give a soft incandescent quality that works on patios without feeling clinical. Bulbs labeled "daylight" (5000K and above) produce a cooler, bluer light that reads as harsh in an outdoor evening setting. If the listing gives a color temperature, 2700K to 3000K is the target range for a relaxed feel.
G40 and G50 globe bulbs are common choices for outdoor string lights, with the larger globe giving more of a vintage look. Edison-style filament bulbs in an A19 shape are another option with the same warm tone. LED versions of both draw far less power than incandescent equivalents, which matters if you are running multiple strands from a single outlet. Compare the listed wattage of the full strand to what the outlet circuit can handle before buying.
Spacing, Sag, and Getting the Look Right
Anchor points at the same height on both ends produce a symmetrical sag in the middle of each run, which is the look most people are after. If one anchor is significantly higher than the other, the drape will be uneven. For a zigzag pattern, run all anchor points at the same height so the peaks are consistent.
Plan for 12 to 18 inches of sag at the lowest point of each segment for a relaxed drape. More sag than that and you risk lights hanging at head height. Less sag and the run looks stretched. If you have a guide wire, adjust the turnbuckle tension until you hit the sag you want before attaching the lights.
For solar lights on a nearby path or garden border, keep in mind that patio string lights plug into an outlet and need a GFCI circuit, so they are a separate system from any solar fixtures in the yard. Run the two independently rather than trying to power solar lights from the same circuit as your string light run.
Power and Final Check
Before plugging in the full run, count the total wattage of all strands you plan to connect. A standard 15-amp circuit handles 1800 watts, but outdoor circuits often share load with other fixtures. Keep your string light total under 1200 watts on a shared circuit to leave headroom. LED strands are typically 20 to 40 watts per strand, so this is rarely an issue unless you are running ten or more strands.
Plug in and walk the run to check for any bulbs that did not survive shipping. Most strands use shunted sockets, meaning one dead bulb does not take out the rest, but replace any dark bulbs before assuming the strand is faulty. Let the lights run for a full evening before finalizing the hardware, since you may find one segment sags more than expected or an anchor needs to move a few inches.